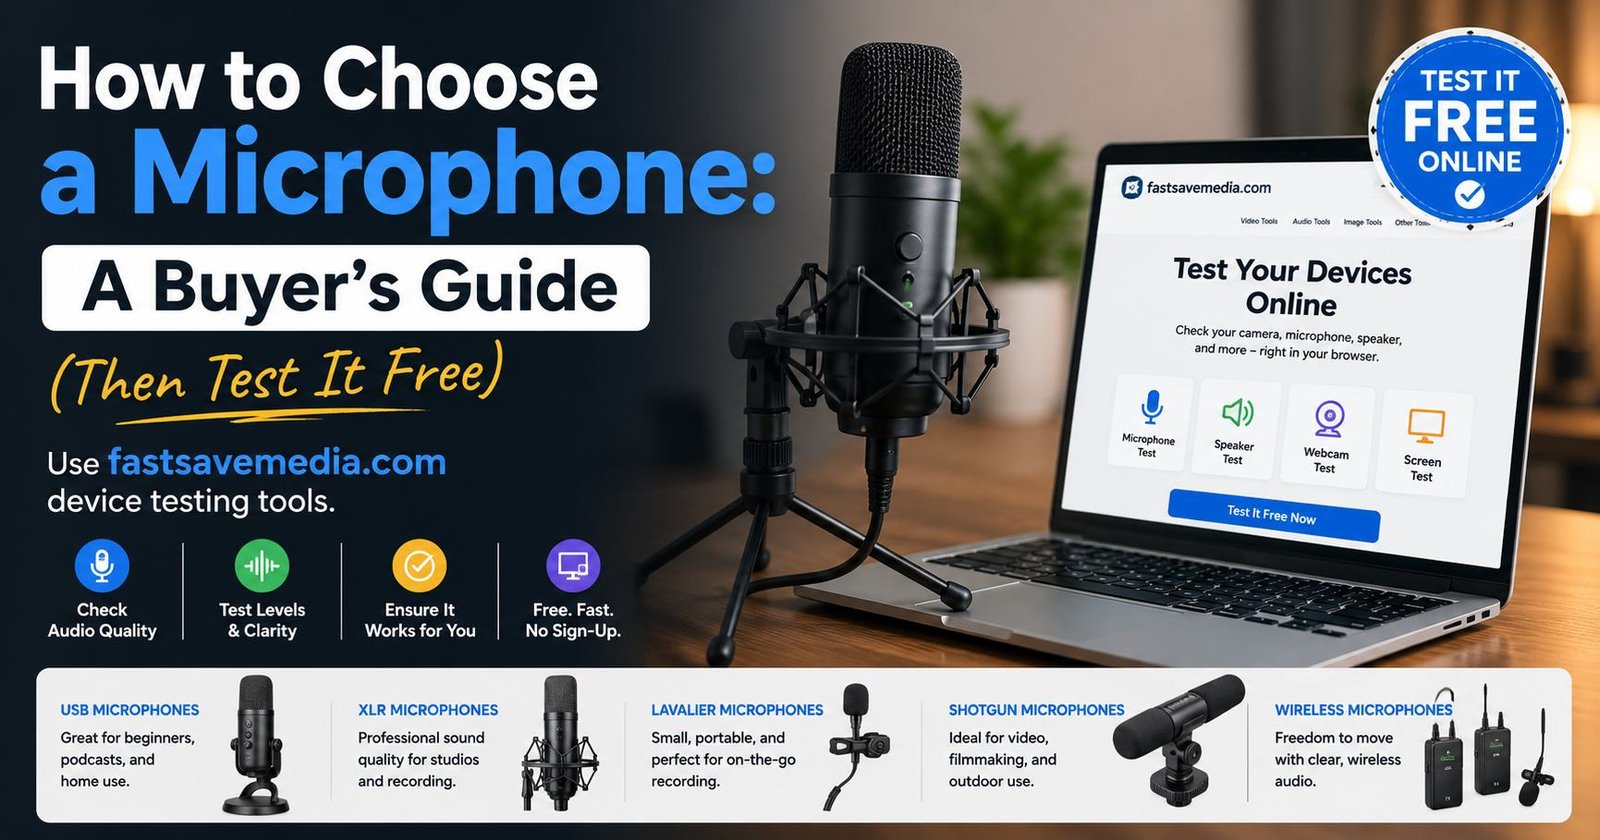
- Match the microphone type to your room first — a sensitive condenser in an untreated room often sounds worse than a cheap dynamic mic in the same space.
- USB mics need nothing extra and suit calls, gaming and streaming; XLR mics need an audio interface but offer more control.
- Cardioid polar pattern is the right default for one person talking — it rejects noise from behind and the sides.
- Spending past the $30–$100 tier rarely improves call quality that the other person will actually notice.
- Whatever you choose, test it free in your browser before you rely on it for a real call.
Most people shopping for a microphone start by comparing prices and star ratings, which is the wrong first question. The right first question is: what room am I actually going to use this in, and how far will it be from my mouth? A microphone’s job is to capture your voice while rejecting everything else — your keyboard, your fan, your upstairs neighbour, the echo off a bare wall — and different microphone designs are built to do that in very different ways.
Buy for the wrong design and no amount of money fixes it. A $250 studio condenser microphone in a small apartment with hard floors will often sound worse on a call than a $40 headset, because the condenser is faithfully capturing the room along with your voice.
Dynamic vs. condenser: the decision that matters most
Every microphone on the market is built around one of two core mechanisms, and knowing which one you’re holding tells you almost everything about how it will behave in your room.
Dynamic microphones
A dynamic microphone uses a small diaphragm attached to a coil of wire sitting inside a magnet — sound waves physically move the diaphragm, and that movement generates a tiny electrical signal directly, with no external power needed. This mechanical simplicity is exactly what makes dynamic mics forgiving: they need the sound source close and are naturally less sensitive to noise arriving from other directions or distances, which is why they’re the standard choice for broadcast, podcasting in untreated rooms, and any setting where background noise is a real concern.
Condenser microphones
A condenser microphone uses a much lighter diaphragm positioned close to a charged backplate, which makes it far more sensitive to small changes in air pressure — capturing more detail and a wider frequency range, but also picking up considerably more of the room around you. Condensers need external power (battery, USB power, or phantom power from an interface) to charge that backplate. They’re the better choice specifically when you’re in a quiet, treated space and want to capture nuance, not when you’re on a video call from a normal room.
The practical rule: if you don’t know what kind of room you have, or you know it’s an ordinary living space with hard floors and no acoustic treatment, start with a dynamic or a well-designed cardioid USB microphone rather than a sensitive condenser.
USB vs. XLR: how much setup do you actually want?
Separately from dynamic vs. condenser, every microphone also connects to your computer in one of two ways, and this decision is really about how much you want to set up before you can talk.
| Connection | What you need | Best for |
|---|---|---|
| USB | Just the microphone — plugs directly into a USB or USB-C port | Remote work calls, gaming, streaming, first-time buyers |
| XLR | An audio interface or mixer, plus an XLR cable | Multi-microphone setups, professional voice work, expanding setups |
There’s no quality law that says XLR always sounds better — a well-built USB microphone from a reputable manufacturer will outperform a cheap XLR mic paired with a cheap interface. XLR’s real advantage is flexibility and headroom for more advanced setups, not a guaranteed jump in sound quality for a single-speaker use case like a video call.
The specs worth checking (and the ones you can ignore)
Product listings throw a wall of numbers at you. Most of them barely matter for everyday use. Here’s what’s actually worth reading:
- Polar pattern (worth checking): cardioid is the right default for one person talking — it picks up mainly from directly in front and rejects sound from behind and the sides. Omnidirectional picks up evenly from all around, useful for a small group but noisier for a single speaker.
- Frequency response (worth a glance): human speech mostly lives between roughly 85 Hz and 8 kHz — a microphone specified anywhere from about 50 Hz to 15–20 kHz covers speech comfortably. Wider ranges matter more for music than for voice calls.
- Sensitivity and self-noise (worth checking between two condensers): lower self-noise (measured in dBA) means less audible hiss in a quiet room, noticeable around 10–15 dBA and below.
- Sample rate / bit depth (usually not worth worrying about): 16-bit/48kHz is already more than sufficient for voice calls and most streaming.
- “Studio quality” marketing language (safe to ignore): it isn’t a standardised spec — always check the actual polar pattern and connection type instead.
Matching a microphone to what you actually do
Remote work & video calls (Zoom, Teams, Google Meet)
A cardioid USB microphone or a good USB headset is the right fit. You want speech to sound clear at a normal conversational distance without picking up a home office’s ambient noise — a condenser here usually works against you unless your room is unusually quiet.
Call center & BPO work
A dedicated USB headset with a boom mic positioned close to your mouth beats a desk microphone every time in this setting, because it stays at a fixed, close distance regardless of how you move. Confirm it’s set as both your default input and output device — a mismatch between the two is one of the most common causes of echo on call center platforms.
Gaming & streaming
A cardioid USB or XLR condenser mounted on a boom arm, positioned close and slightly off-axis, gives clear voice chat and stream audio without much of your keyboard or mouse clicks bleeding in. If you’re just starting out, a USB microphone in the $40–80 range is enough.
Podcasting & content creation
Dynamic microphones dominate this category for a reason — most home recording setups aren’t acoustically treated, and a dynamic mic’s natural noise rejection compensates for that. If you’re recording multiple people in the same room, look for a multi-pattern or multi-input setup rather than one omnidirectional mic for everyone.
What to expect at each price tier
| Tier | What you typically get | Good fit for |
|---|---|---|
| Under $30 | Basic USB mic or headset, adequate cardioid pattern | Occasional calls, casual gaming, backup mic |
| $30–$100 | Solid USB mics with real cardioid patterns, mute buttons, gain control | Daily remote work, streaming, call center use |
| $100–$250 | Higher-end USB or entry XLR condensers, better self-noise figures | Serious podcasters, streamers, casual music vocals |
| $250+ | Professional condensers and dynamics, typically XLR | Professional voice work, music production |
For pure video-call and remote-work use, spending past the $30–$100 tier rarely produces an audible improvement the other person actually notices — that budget is better spent on a boom arm, a pop filter, or simply moving the mic closer to your mouth.
Common Mistakes to Avoid
- Buying a sensitive condenser for a noisy room. This is the single most common regret — the mic isn’t broken, it’s just the wrong design for the space.
- Ignoring mic placement entirely. Moving a mediocre mic twice as close to your mouth often beats buying a better mic and leaving it far away.
- Assuming a new mic is automatically selected. Plugging in an external microphone doesn’t always make your apps use it by default — you often have to manually select it in your call platform’s audio settings.
- Never actually testing it before an important call. Testing beforehand catches problems in seconds instead of mid-meeting.
Wrap-up
Whichever microphone you land on, don’t wait until a real call to find out how it sounds. Open a browser-based microphone test, confirm the correct device is selected, speak at your normal call volume, then record a short clip and actually listen back to it. That playback step is the closest you’ll get to hearing exactly what the people on the other end of your calls hear.
If you’ve already got a microphone and it’s misbehaving rather than needing to be replaced, see Why Is My Microphone Not Working? for platform-by-platform fixes before you assume you need a new one.
Bought your microphone? Confirm your input level, check for background noise, and record a short playback clip — free, in your browser, no download or signup.
Test Your Microphone FreeFrequently Asked Questions
What is the single most important thing to check when choosing a microphone?
Match the microphone type to your room, not your budget. A condenser mic in an untreated bedroom will pick up every echo, fan and keyboard click, while a dynamic mic in the same room sounds clean because it only captures sound directly in front of it. Decide your room first, then your mic type, then everything else.
Should I buy a USB or XLR microphone?
Buy USB if you want to plug in and start talking within a minute — it's the right choice for Zoom calls, remote work, gaming and most first-time streamers. Buy XLR only if you already own (or plan to own) an audio interface or mixer, since XLR mics need one to work at all and offer more control and lower self-noise in return.
Is a more expensive microphone always better for video calls?
No. For video calls specifically, a $30-$60 USB microphone with a cardioid pickup pattern will sound clearer than a $300 condenser mic used in a noisy or untreated room, because room noise matters more than raw microphone quality at call-volume speech levels. Spend on room treatment and mic placement before spending on a pricier microphone.
What does 'polar pattern' mean and why does it matter?
A polar pattern describes which directions a microphone picks up sound from. Cardioid (the most common for calls, gaming and streaming) picks up mainly from the front and rejects sound from behind, which is why it's the best default for a single speaker in a normal room. Omnidirectional picks up evenly from all directions, which is useful for group recordings but picks up more background noise for one person.
How do I know if a headset microphone is good enough for call center or remote work?
A headset mic is good enough if it stays close to your mouth (within one to two inches), has a cardioid or noise-canceling capsule, and uses USB or a dedicated headset jack rather than sharing a laptop's built-in combo port. Beyond that, test it directly — a free browser mic test that shows live input level and lets you record a short clip is the fastest way to confirm quality without guessing.
Once I've bought a microphone, how do I test it before an important call?
Open a browser-based microphone test, click to start the microphone, and speak normally. A good test will show your live input level, flag background noise, and let you record a few seconds of audio to play back — so you hear exactly what the other person on the call will hear, before you actually join the call.