In this article
- What personal branding on Instagram means
- Why it matters
- Step 1: Choose your niche and your audience
- Step 2: Write your one-sentence promise
- Step 3: Set three or four content pillars
- Step 4: Make your profile say the same thing
- Step 5: Build a simple visual identity
- Step 6: Find your voice
- Step 7: Choose formats that fit your pillars
- Step 8: Set a rhythm you can keep
- Step 9: Build relationships, not only reach
- Creator or Business account?
- Be honest: trust is the brand
- Measure and adjust every month
- A 30-day starter plan
- Common mistakes
- Personal branding checklist
A personal brand on Instagram is the answer to one question: why should someone follow you and not the next account? This guide shows you how to answer it clearly, then turn the answer into a profile, a content plan and a routine you can keep up.
What personal branding on Instagram means
Personal branding is how people perceive you from your profile, your posts and the way you reply to them. It is not a logo or a trick. It is the pattern people notice: what you talk about, how you say it, how you look and whether you can be trusted.
A brand can be built by a freelancer who wants clients, a teacher who wants students, a creator who wants a community or a professional who wants to be known in their field. The method is the same. The goal changes what you post, not how you plan it.
Why it matters
People follow accounts that are easy to describe in one line. If a new visitor cannot tell what your account is about in a few seconds, they leave. A clear brand also makes your work easier, because it tells you what to post and what to skip. Over time it builds familiarity, and familiarity builds trust.
Step 1: Choose your niche and your audience
Write down three things:
- What you know or do well (your expertise or your experience).
- Who you want to help (a specific group, not everyone).
- What they struggle with or want.
Where those overlap is your niche. "Fitness" is too wide. "Home workouts for people over 40 with a bad back" is something people can recognise. You can broaden later, but start narrow.
If you cannot pick, look at your last 20 posts and pick the topic you enjoyed most and got the best replies on. Check the numbers in Instagram Insights to see which posts people saved and shared.
Step 2: Write your one-sentence promise
Use this template and fill it in: I help [who] to [result] through [how].
For example: "I help new freelancers price their work through simple templates and real client stories." This sentence is for you. It is not your bio, but it should shape your bio, your highlights and your content.
Step 3: Set three or four content pillars
Content pillars are the repeating topics that stop you from running out of ideas. Pick three or four, and make sure they fit your promise.
| Pillar | What it is | Example for a freelance designer |
|---|---|---|
| Teach | Tips and how-tos | "3 ways to fix cramped layouts" |
| Show | Your work and process | A before and after, with notes |
| Story | Why you do it, lessons learned | "The client who taught me to write briefs" |
| Connect | Questions, polls, replies | "What do you struggle with most?" |
Mix them. If every post is a promotion, people stop reading. If you need ideas or hooks for each pillar, the AI Content Script Generator can give you a first draft to edit in your own voice.
Free tool: AI Content Script Generator. Turn each pillar into hooks and a first-draft script, then edit it in your own voice.
Open the AI Content Script GeneratorStep 4: Make your profile say the same thing
Your profile is your front door. Most visitors decide from it whether to follow.
- Name field: include your niche word, not only your name, because the name field is searchable.
- Bio: it has a 150-character limit. Say who you help and how, and add one line that proves it. Our bio optimization guide has formulas and examples.
- Profile photo: use a clear, well-lit face or your logo, centred, because it displays as a circle. Prepare it with the Social Media Image Resizer.
- Highlights: use them as a menu: start here, services, results, FAQ.
- Link: point to one place that matches your goal.
Free tool: Social Media Image Resizer. Crop and size your profile photo so your face stays centred in the circle.
Open the Social Media Image ResizerStep 5: Build a simple visual identity
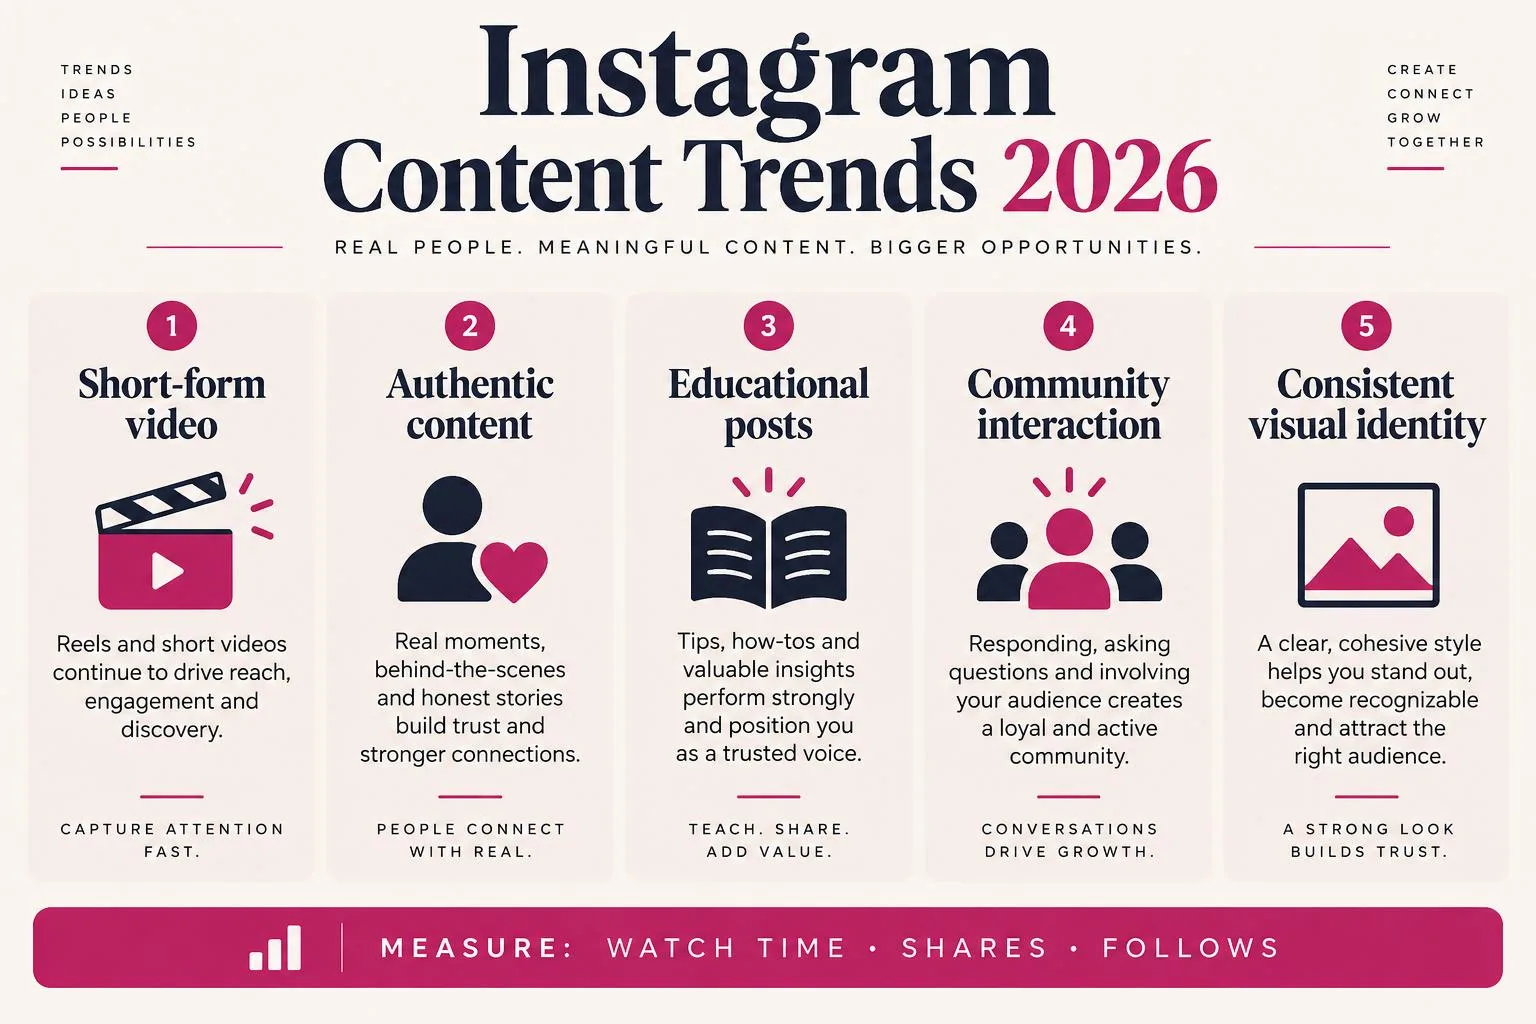
Pick two or three colours, one or two fonts and a layout style, and reuse them. You do not need a designer. What matters is that your posts look like they come from the same person.
- Use the same text style on covers and carousels.
- Keep key text in the centre of the frame, because the profile grid and feed crop the edges.
- Use consistent lighting. The Instagram photography tips guide has practical advice.
- For video, apply one look across clips and add captions. See the video editing guide.
Step 6: Find your voice
Your voice is how you write and speak: short or detailed, formal or relaxed, funny or calm. Write the way you would explain it to a friend, then trim. Use the same few phrases and the same way of opening and closing posts so that people recognise you.
Captions are where voice shows most. Start with a clear first line, say one useful thing and end with a question or next step. The caption writing guide covers structure and examples. If you use hashtags, the Hashtag Generator and the hashtag strategy guide help you choose a small, relevant set.
Free tool: Hashtag Generator. Get a small, relevant set of hashtags for your niche.
Open the Hashtag GeneratorStep 7: Choose formats that fit your pillars
| Format | Good for | Read more |
|---|---|---|
| Reels | Reaching new people with a quick lesson or story | Reels guide |
| Carousels | Step-by-step teaching people can save | Caption writing guide |
| Stories | Daily, informal contact with followers | Stories best practices |
| Single photos | Portraits, results, behind the scenes | Photography tips |
You do not need all four. Start with the one you can do well every week.
Step 8: Set a rhythm you can keep
Consistency beats volume. Choose a number of posts per week that you can keep for three months, such as three posts and a few Stories. Plan them in batches. The content calendar guide shows how to lay out a month so you are never posting at the last minute.
Step 9: Build relationships, not only reach
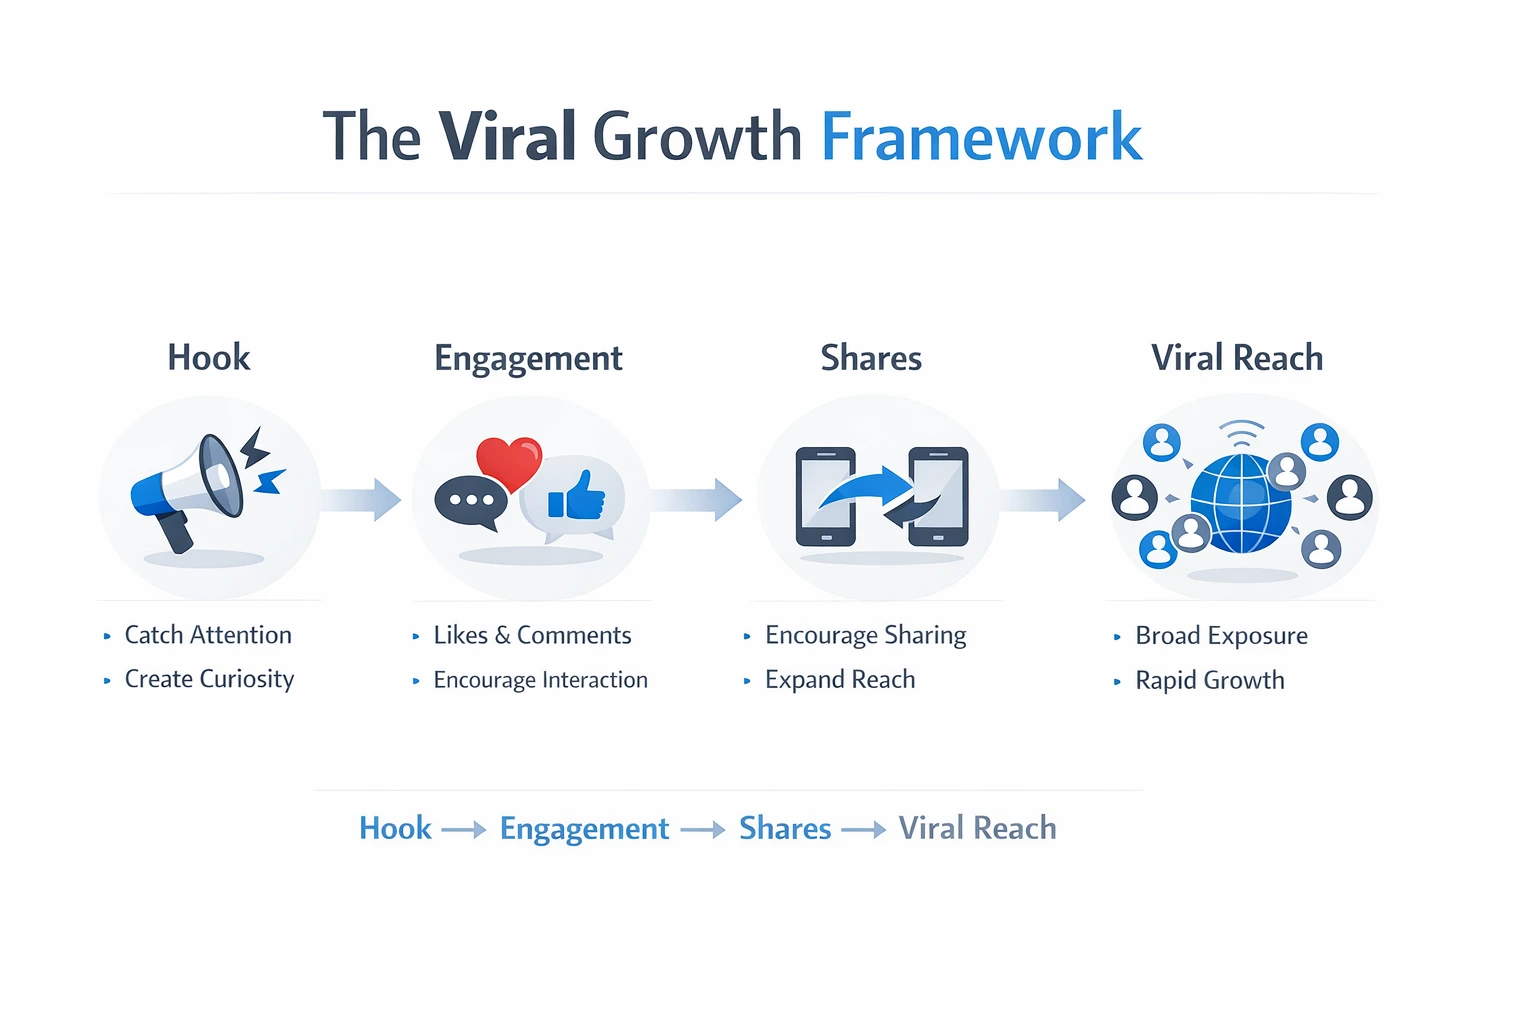
A brand is built in the replies. Answer comments and messages, ask questions, and mention other accounts in your field when you learn from them. Spend a few minutes a day replying to people before you post. Our engagement tips guide gives specific ways to do this without spamming, and the algorithm guide explains what Instagram is likely to reward.
Creator or Business account?
Instagram's Help Center says a creator account is best for public figures, content producers, artists and influencers, while a business account is best for businesses that want to grow and reach customers. Both are professional accounts and give you Insights. Pick Creator if you are building a personal brand around yourself, and Business if you represent a company or sell products and services. You can switch later.
Be honest: trust is the brand
Your brand lasts only if people can believe it.
- Share real results and say when they are your own experience, not a guarantee.
- Do not copy other people's work or use music and footage you have no right to use. See the copyright guidelines.
- Follow the Instagram Community Guidelines.
- If you are paid or given something for a post, say so clearly. In India, the Advertising Standards Council of India (ASCI) has influencer guidelines that require a clear disclosure label on promotional posts. Read our ASCI disclosure guide and the original ASCI guidelines.
- Protect your privacy. Review your privacy settings and think before you share your location or home.
Measure and adjust every month
Once a month, look at which posts people saved, shared and replied to, and where they stopped watching. Do more of the first and fewer of the last. Do not change your niche because of one slow week. The analytics guide explains which numbers to check.
A 30-day starter plan
| Week | Focus | What to do |
|---|---|---|
| 1 | Foundation | Write your promise, pick pillars, update bio, photo and highlights |
| 2 | Visual and voice | Make templates, write five captions in your voice |
| 3 | Publish | Post on your rhythm, reply to every comment |
| 4 | Review | Check Insights, keep what worked, plan next month |
Common mistakes
- Trying to appeal to everyone, so nobody feels the account is for them.
- Changing topic or tone every few weeks.
- Posting only promotions.
- Copying another creator instead of using your own examples.
- Ignoring comments and messages.
- Comparing your first month with someone else's fifth year.
- Chasing trends that do not fit your niche.
- Exaggerating results or hiding that a post is paid.
Personal branding checklist
- Write your one-sentence promise
- Choose three or four content pillars
- Add your niche word to the name field
- Rewrite your bio so it says who you help
- Pick two or three brand colours and fonts
- Plan a month of posts in a calendar
- Reply to comments within a day
- Disclose paid or gifted content clearly
- Review your Insights once a month
Frequently asked questions
What is a personal brand on Instagram?
How long does it take to build a personal brand?
Do I need a niche?
How many times should I post?
Should I show my face?
Creator or Business account for a personal brand?
Do I have to disclose sponsored posts?
Nayeem — Software Developer of fastsavemedia.com
Built FastSaveMedia to provide free, privacy-first web utilities. Most tools process files in your browser without server uploads; tools that use an online service explain this on their page. Focuses on web performance, audio signal processing, and accessible digital tools.
LinkedIn profile